
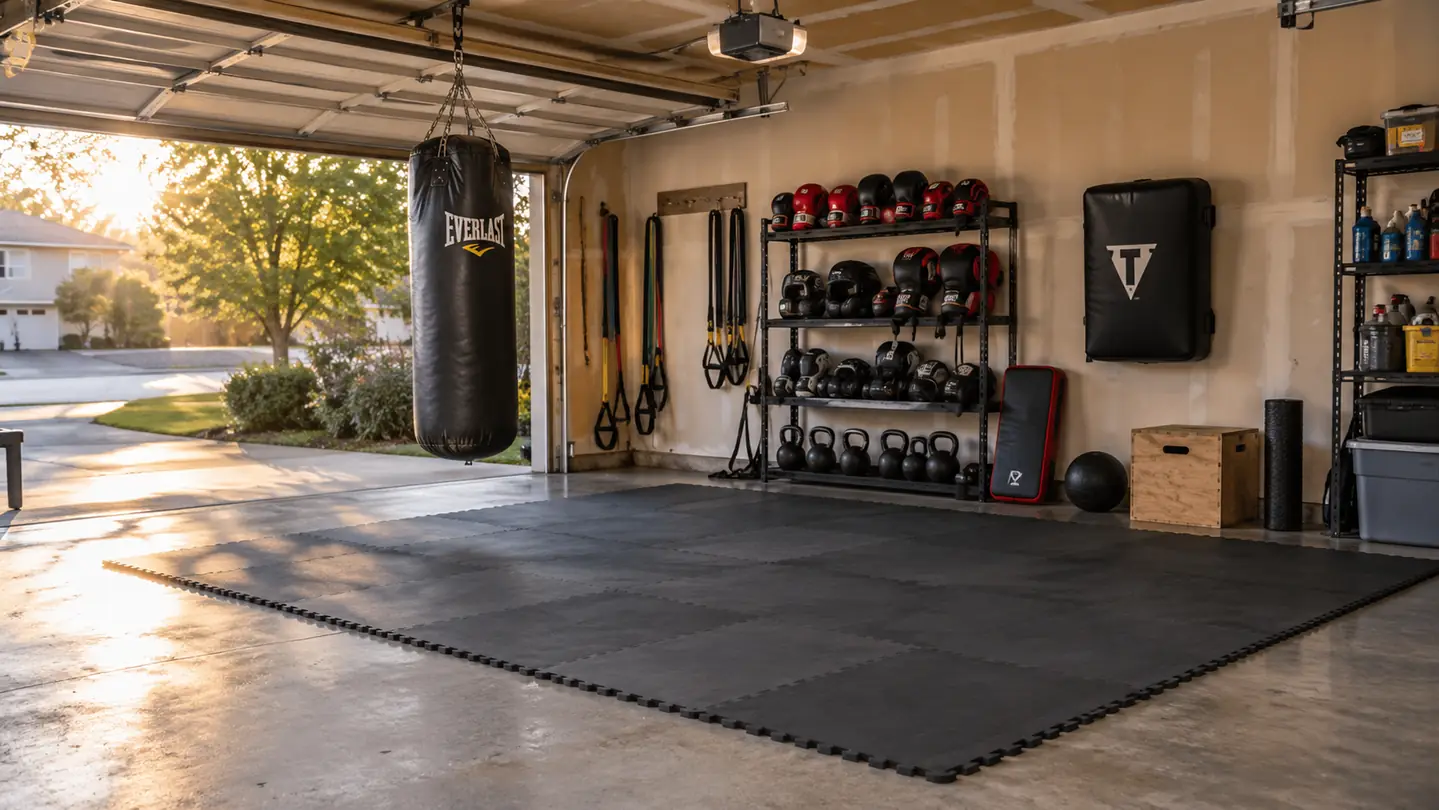
A garage floor is a bad training surface. Mine is bare concrete, and at 5:40 in the morning it is cold enough that your feet ache before you are warm. It takes the skin off your knees the first time you drill a technical stand-up. And it does nothing for a 44-year-old carrying an old meniscus tear in his left knee. I coach kickboxing and Brazilian jiu-jitsu at a small club in Columbus, Ohio, and I train in my own two-car garage before the club opens. About two years ago I laid 24 tiles of the ProsourceFit 1/2-inch EVA interlocking puzzle mat on that slab, roughly a 12 by 8 foot rectangle. This is the order I would do it in if I were starting again.
The mistake I see people make is buying mats first and thinking about the room second. Mats are the last decision, not the first. Before you order anything you need to know how much clear floor you actually have, what you intend to do on it, and what is going to sit around the edge. Get those three wrong and you end up with a rectangle that is too small, or one that walks out from under the bag, or one you keep tripping over at the door. I have watched students make all three mistakes in the same weekend.
The tile I have trained on for two years and would lay again tomorrow
ProsourceFit 1/2-inch EVA interlocking tiles, 24 x 24 inch squares, six to a pack at 24 square feet per pack, end borders included. Non-skid, high-density EVA foam with no toxic phthalates, and a limited lifetime warranty on the listing. They are not thick enough for throws, and I say so further down.
Amazon Check Today's Price on Amazon →Step 1: Measure the rectangle you will actually train in, not the room
A garage is mostly storage, and the clear part is smaller than it looks. I took a tape to mine and found 12 feet along the wall with the rack and a little under 8 feet of depth before I hit the walkway to the door. That is 96 square feet. It is a workable floor for one person doing footwork, bag work and stretching, and it is tight for two.
Two things eat into that number. The first is the bag. If you hang a heavy bag over the mat you need a clear circle around it, roughly the length of your arm plus a leg, or you will be stepping onto concrete every time it swings away from you. Mine hangs just off the edge of the rectangle, so I step to it rather than swinging over it. The second is the gear rack. Do not put the rack on the tiles. It is heavy, it has a small footprint, and it will leave four dents that never come back out.
Then measure the door swing and the walkway. You want enough bare concrete at the entry to stand on while you take your shoes off, and you want the mat edge far enough from the wall that you are not kicking plaster on a roundhouse. I gave myself 18 inches on the bag side and about a foot everywhere else. Four packs of tiles went into the back of the minivan in a single trip at 5 pounds a pack, so this is not a job that needs a truck or a second pair of hands.
Step 2: Deal with the concrete before you cover it
Concrete is not a clean surface, it is a surface that hides dirt well. Sweep it, then sweep it again, then run a damp cloth over it and look at what comes up. Grit under a mat is the single most common reason a floor feels wrong. It grinds between the foam and the slab, it makes a crunching sound when you pivot, and over a year it works its way into the underside of the tile.
Then check for moisture. A slab in an unheated garage can pull water out of the ground and hold it against whatever you put on top of it. Tape a square of clear plastic down overnight and look for condensation on the underside in the morning. If you get a real bead of water, deal with that first, because foam that sits on a wet slab will end up smelling like a wet slab. I laid mine in a dry month on a slab that had been bare for years, and I still left a gap along one wall where water runs toward the door.
Last thing, walk the slab in bare feet. Foam follows the floor underneath it, it does not flatten the floor out. A high spot telegraphs through as a ridge you feel every session, and a crack will sit under a seam and slowly open it up. If the slab is rough, a bag of self-levelling compound is a better purchase than a thicker mat.
Step 3: Buy tiles by the square foot, not by the box
Each tile is 24 inches by 24 inches, which is 4 square feet, and the pack holds six of them, so 24 square feet to a pack. Do the division on your measured rectangle, not on the room. My 12 by 8 foot area is 96 square feet, which is exactly four packs. If your number lands slightly over a pack boundary, round up. Offcuts are not really a thing with interlocking tiles unless you want to cut them, and the border pieces only finish the edge if there is a whole tile at the edge to finish.
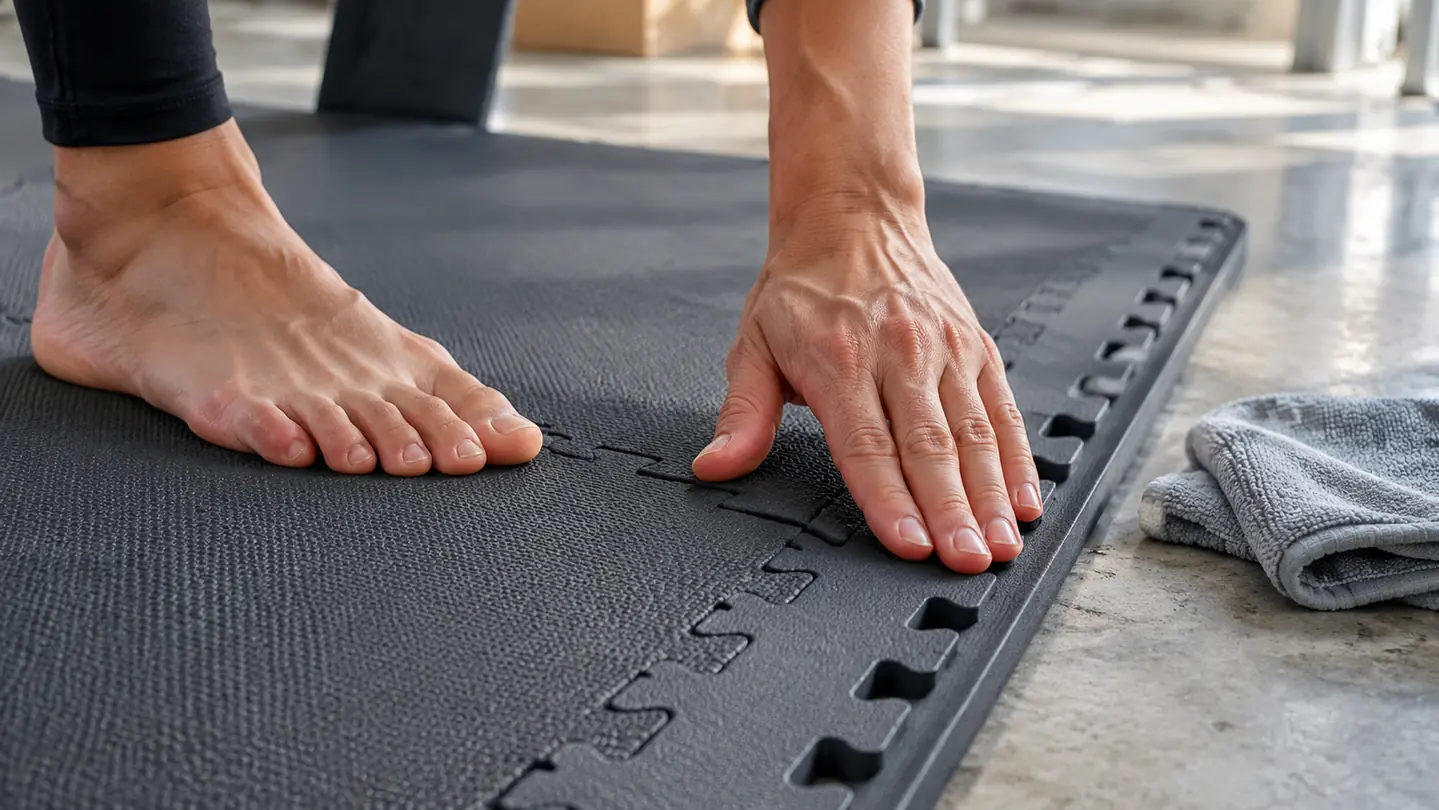
Borders are the detail people forget. The ProsourceFit pack includes end border pieces, and those are what turn an exposed tile edge into something you can walk over in socks. A floor built out of nothing but interior tiles has a lip all the way around it, and you will catch that lip in the dark with your hands full of gear. Keep the borders in the box until the layout is final, then fit them last.
Two practical notes from doing it. First, a pack is 5 pounds, so four packs is a light load and one trip down a corridor. Second, open a pack and let the tiles sit in the garage for a day before you lay them. EVA foam straight off a pallet has a smell to it, and a day with the door open and the tiles spread out takes care of most of that. It is high-density EVA with no toxic phthalates per the listing, so it is a shipping smell rather than a chemical one, and it does go.
Twenty four tiles, four packs of six, one trip in the minivan. Two years of 5:40 morning sessions later, the seams still sit flush and nothing has slid on that slab.
Step 4: Dry fit everything, then run the seams at an angle to your footwork
Lay the whole rectangle out loose before you commit to anything, working out from the corner you walk past most, and check the last row against the wall. A quarter inch of error spread across eight tiles is invisible. The same quarter inch at the end of the run is a visible gap you will look at for years. Then pull the whole thing up and start again, this time pressing each joint together as you go.
Seam direction matters more than the instructions let on. Run the seams so that your main footwork line crosses them at an angle instead of running straight down one. On a puzzle tile the joint between two tiles is the weak line, the place a bare foot will eventually find, and if that line sits exactly where you plant on every pivot you are asking it to fail. I laid mine at a slight angle to the bag and the seam stopped bothering me within a week.
One detail worth knowing: the 1/2 inch is measured from the highest point of the texture, so the flat sections of a tile sit a fraction lower than the number on the box. That is not a fault, it is how the grip works. You feel the pattern in bare feet, which is exactly what you want on a floor you are going to pivot on. Lay it texture side up, press each joint flat with the heel of your hand, and let the tiles settle for a day before you drag a bag across them.
Step 5: Build the rest of the room around the floor, not on it
The heavy bag goes over concrete or over its own mounting plate, never hung from something you added just for the mat. The gear rack stays on the slab. A bench or a plyo box goes on the concrete too, because anything with four small feet on foam will leave four marks. I keep a folding chair and a water bottle at the edge, on the concrete, and the tiles stay clear.
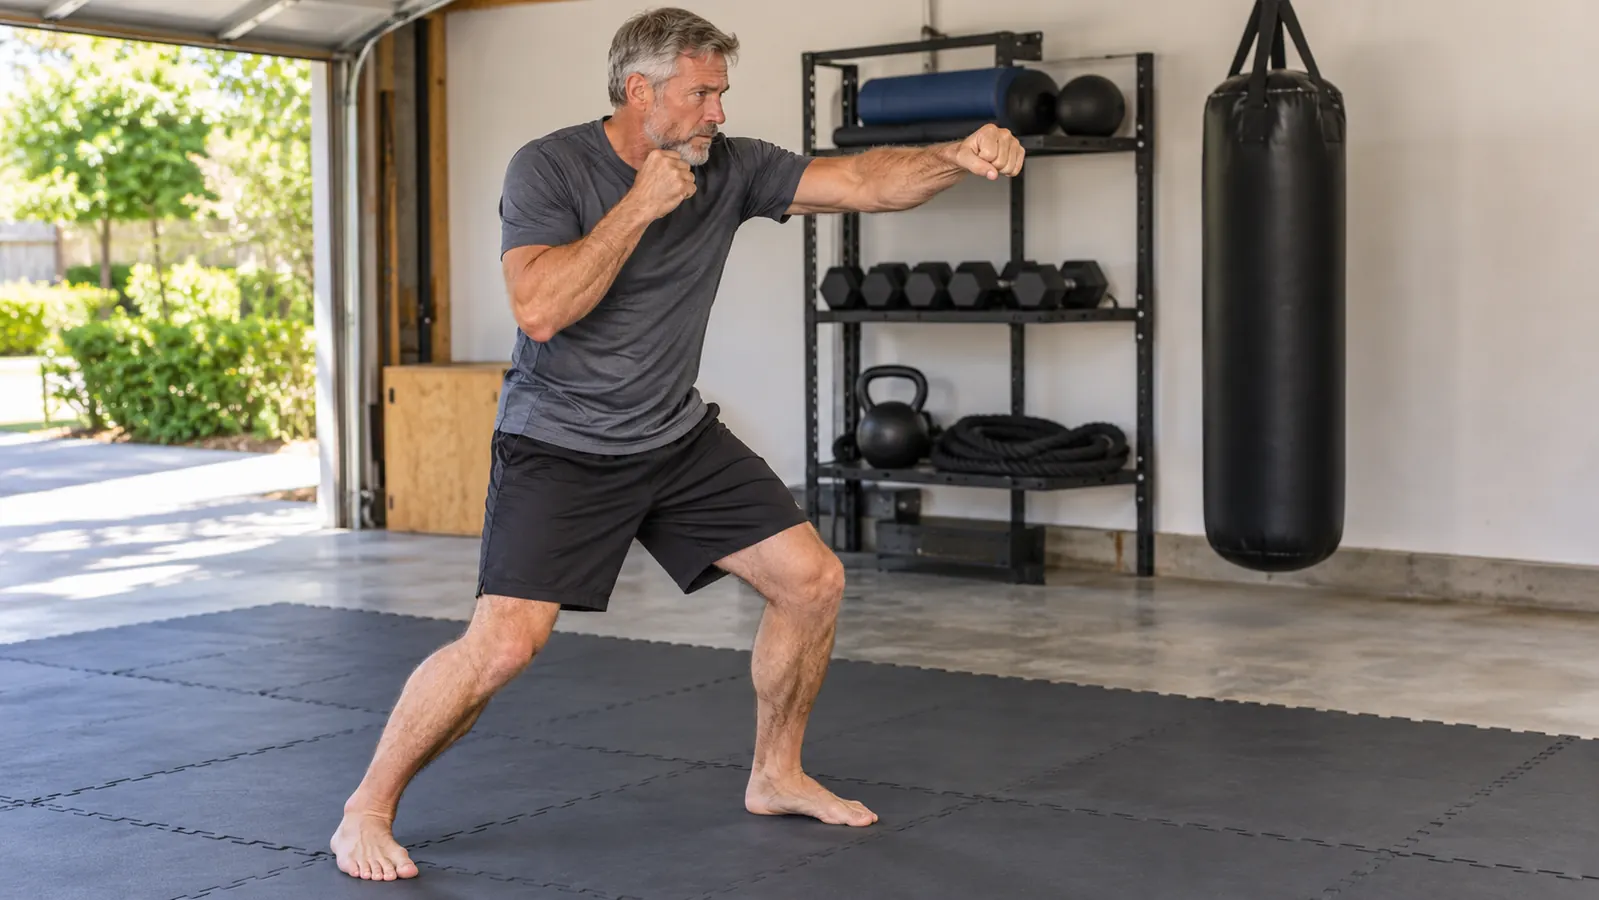
The honest limit of these tiles is 1/2 inch. They are right for footwork, shadowboxing, bag work, stretching, bodyweight work and light drilling. They are not right for throws, takedowns, or anything where someone lands flat on their back, and I do not allow them on this floor. My club has thick jiu-jitsu mats for that, and there is no version of a half-inch puzzle tile that does that job. If you are setting up a garage so you can practise breakfalls on your own, you want a different floor entirely.
Nothing heavy and sharp should be dropped on it. A kettlebell set down hard will dent EVA, and it is the kind of dent that comes back about 80 percent and then stays. Set weights on the concrete and step onto the mat to use them. Cleanup is a damp cloth and air drying, not a bucket of water. Once a season I pull the whole rectangle apart, wipe the slab, wipe the underside of each tile, and put it back. That takes about 20 minutes and it is the reason the same 24 ProsourceFit tiles are still down after two years.
What Else Helps
Light. A garage with one bulb in the ceiling puts your shadow exactly where you are trying to land. Two cheap LED shop lights on the ceiling, angled across the floor rather than straight down, make the mat area bright enough to see your own footwork, and they cost less than a couple of months of a gym membership. Mine are on a switch by the door so the room comes on before I am through it.
A mirror on a wall, a clock you can read from the floor, and something to hang damp gear on. A mirror is the closest thing to a coach you will have at 5:40 in the morning, and a wall clock stops you guessing whether a round was three minutes or five. Beyond that, keep the floor clear. The rectangle works because there is nothing on it. The moment a bench, a stack of boxes and a bicycle live on the mat, you have a storage room with a nice floor in it, and you stop training in there.
If you are laying a floor this weekend, lay this one
ProsourceFit 1/2-inch EVA interlocking tiles, 24 by 24 inch squares, six to a pack, 24 square feet per pack, end borders included. Non-skid, high-density EVA foam, no toxic phthalates, limited lifetime warranty on the listing. Rated 4.6 across more than 61,000 reviews. Four packs laid my 12 by 8 foot rectangle, and they are still down.
Amazon Check Today's Price on Amazon →