
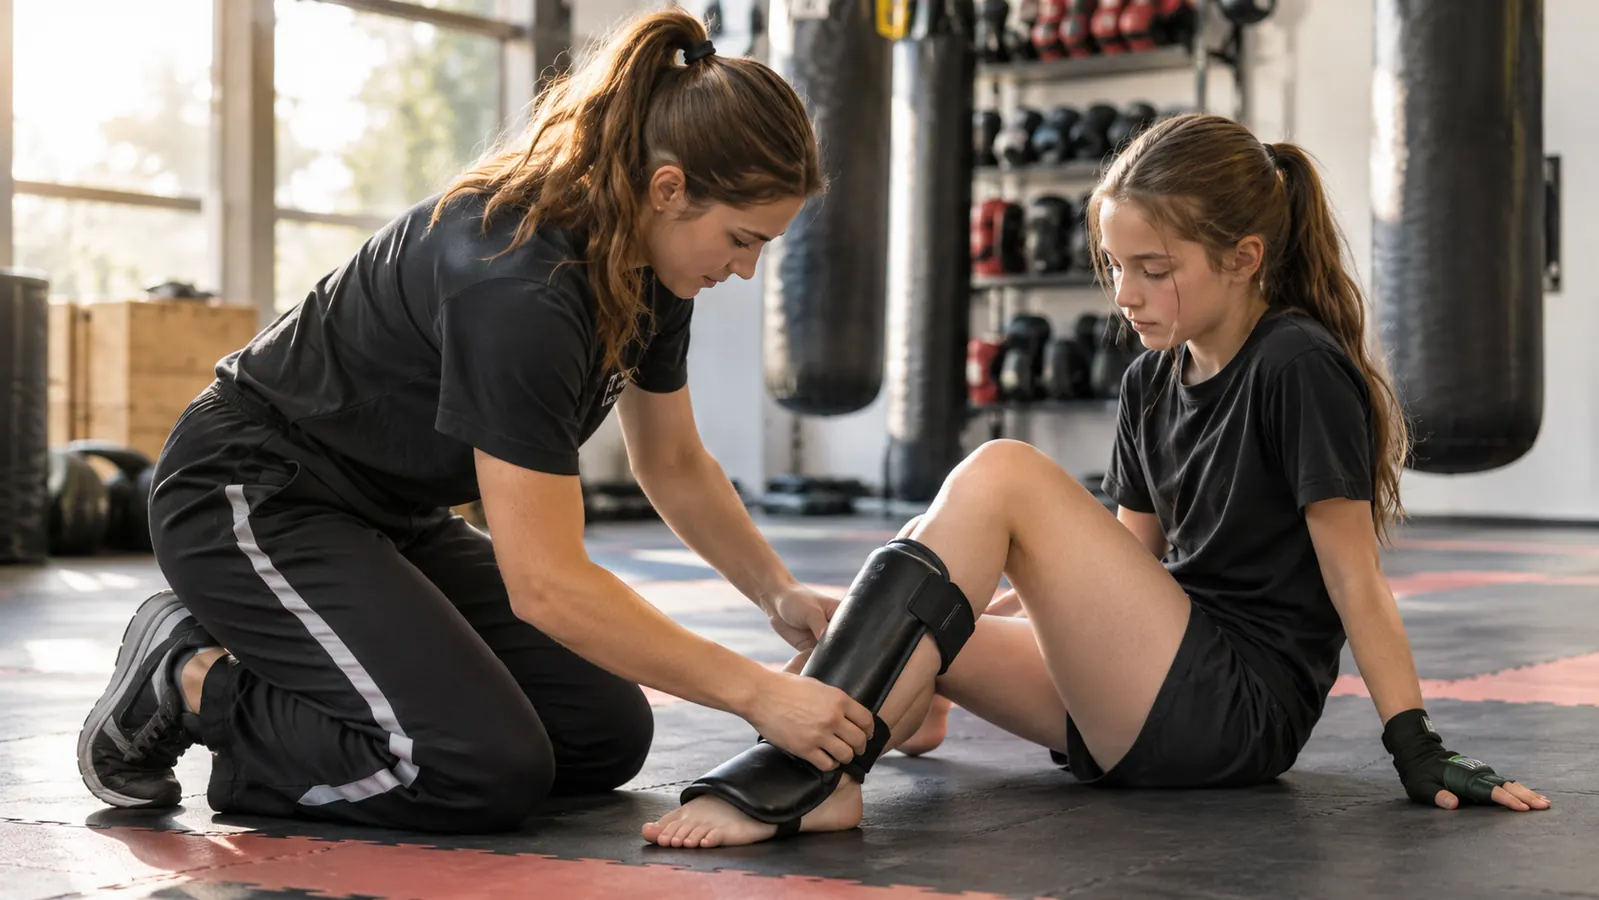
The complaint I hear most in my club is not about the padding. It is about where the padding ended up. A student throws a roundhouse, the guard rotates a quarter turn around the calf, and by the third round of technical sparring they are stopping every thirty seconds to drag it back into place. I have watched this happen with cheap guards and with good ones, which tells me the problem is almost never the gear. It is the fit.
I have worn a pair of Meister MMA elastic cloth shin and instep guards for about ten months, for technical sparring and kick drills, and they have stayed where I put them. Not because they are special, but because I spent four minutes learning where the top strap needs to sit and I have done it the same way ever since. Meister builds these as a slip-on sock with an elasticated body and a hook-and-loop strap at the top of each guard. That strap is the part most people get wrong, and it is the part that decides whether you finish the round thinking about your kicks or thinking about your gear.
The strap does the work. Set it right and the guard stops moving.
Slip-on elastic body, hook-and-loop strap at the top of each guard, listed at 9.6 ounces. This is the pair I wear for technical sparring and kick drills.
Amazon Check Today's Price on Amazon →Why Guards Rotate in the First Place
A guard rarely rotates because it is uniformly loose. It rotates because it is tight in one place and slack in another. The leg tapers from a wide calf down to a narrow ankle, so a straight tube of elastic wants to travel down that taper the moment it stops gripping. Add sweat and the rotational force of a kick and you have a guard that starts the round over your tibia and finishes it sitting over the outside of your calf.
The instep end is the half people ignore. Your foot is a lever. Every kick rotates the ankle, and if the padded section over the top of the foot is not seated where the foot actually flexes, it acts like a wrench on the rest of the guard and turns the whole thing. Fix the foot end and a good deal of the sliding at the top disappears. That is why the sequence below starts with the skin, works through the foot, and only then sets the strap at the calf.
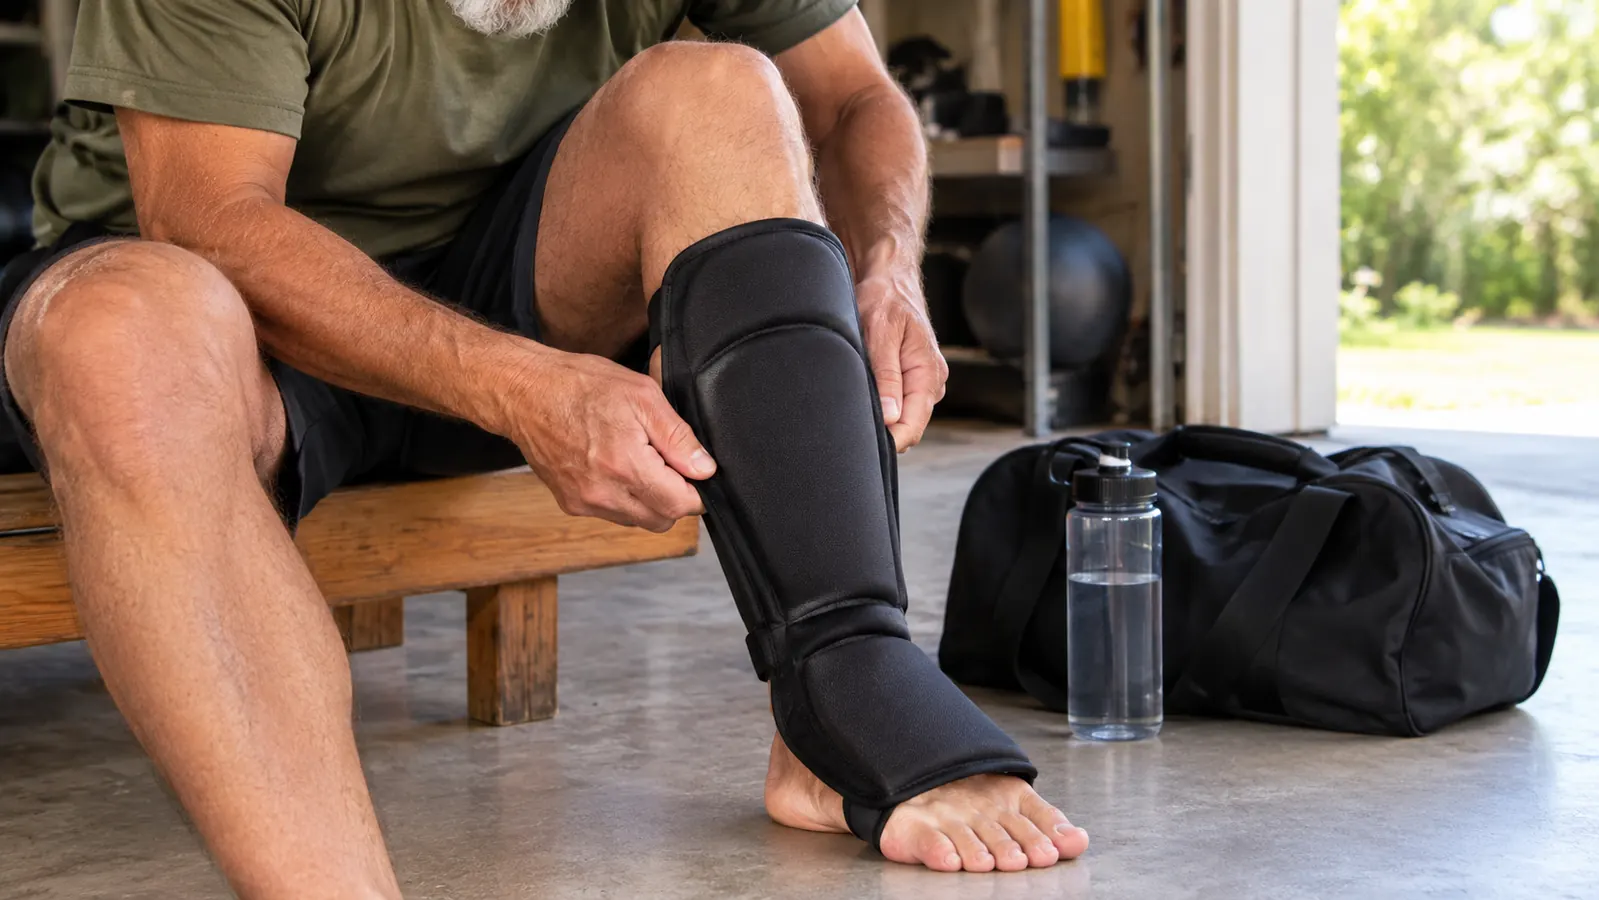
The Fit Sequence I Teach Every New Student
Five steps, in this order. It takes about four minutes the first time you do it and under a minute once it becomes a habit. I walk through it with every new adult who turns up with a pair of slip-on guards, and I walk through it with the kids class twice a season, because they grow.
Step 1: Start With a Clean, Dry Leg
Put the guard on a clean, dry leg. That sounds like filler advice until you watch someone try to pull an elastic guard over a shin still slick from a pre-class rubdown or yesterday's sweat. The body of the guard holds by friction against skin plus the strap at the top. Lotion, powder and grit from the bottom of a gear bag all cut that friction, and the guard starts the round already halfway to sliding.
I keep a stack of clean towels by the door of the club for exactly this. Wipe the shin from the ankle to just below the knee, dry it, then do the same across the top of the foot. If you came straight from work, give the leg a minute to cool before the guard goes on. A hot, damp leg at six in the evening fits differently than a cool one ten minutes into a session, and the difference shows up as a strap that suddenly needs another notch.
While you are down there, turn the guard inside out and look at it. Lint, hair and dried mat dust collect in the hook-and-loop strap, and a strap with half its hooks clogged will feel tight when you set it and then let go the moment you start sweating. Two seconds with a fingernail or a stiff brush fixes it. Same check on the inside of the guard, where a seam that has started to fray will rub a shin raw over a long session.
Step 2: Roll It On Instead of Dragging It
These are slip-on guards. There are no laces to pull and no shell to buckle, which means the way you get them on decides how they sit for the next hour.
Bunch the guard down toward the ankle the way you would a thick sock. Seat the padded instep section over the top of your foot first, with your toes all the way into it. Then work the body of the guard up the shin in two or three short pulls, letting the elastic gather and release as you go, rather than in one long drag from ankle to knee.
That single drag is where most bad fits begin. Pulling from the top stretches the opening, distorts where the foam sits, and leaves the whole guard lower on the leg than it should be. If you have ever had a guard that felt fine standing still and slid down the first time you threw a kick, this is usually the reason. Rolling takes maybe fifteen seconds longer, and it is the difference between a guard you forget about and a guard you fight all night.
Step 3: Set the Top Strap on the Calf, Not the Shin Bone
The integrated hook-and-loop strap at the top of each guard does most of the holding. Where it lands on the leg matters more than how hard you pull it.
Set it on the meat of the calf, roughly a hand's width below the crease at the back of the knee. Not down on the shin bone, where there is nothing for the strap to grip and the edge digs in every time you check a kick. Not up in the crease either, where the strap catches as you bend and walks the guard down the leg with every step. On the belly of the calf, the strap has something to hold and the guard stays at the height you set.
For tightness, you want it snug enough that a flat hand cannot slide the guard down, and loose enough that one finger goes under the strap without forcing it. If you peel the guard off after a round and there is a deep band pressed into your leg, it was too tight. An over-tightened strap pulls the guard downward as the calf swells, which is the opposite of what most people expect. Re-check it after the warm-up, because a cold calf and a warm calf are not the same size. My twelve-year-old, Mateo, had this exact problem in the kids class until we started setting his strap after the warm-up instead of before it.
Step 4: Center the Instep Panel Over the Top of the Foot
The instep panel is the part people forget to look at, and it is the part that decides whether the whole guard rotates.
Center the padded section over the top of the foot, covering the long bones that run from the ankle toward the toes. Your toes should sit clear of the padding, and you should be able to spread them and curl your foot without the guard pulling anywhere. If the pad rides up over the ball of the foot, every kick pushes it back and drags the shin section along with it.
Then check the line of the shin panel. The thickest foam should sit directly over the front edge of the tibia, straight up the middle of the shin, not twisted toward the inside or the outside of the leg. A quarter inch of rotation at the ankle becomes a couple of inches of drift by the time the guard reaches the knee. Once it is lined up, press the foam flat against the leg from ankle to knee with the palm of your hand so the guard is gripping along its whole length instead of only at the top and the bottom.
Step 5: Test the Fit With Kicks Before Anyone Kicks You
Do not find out the fit is wrong while somebody is kicking you. Three checks, all of them short.
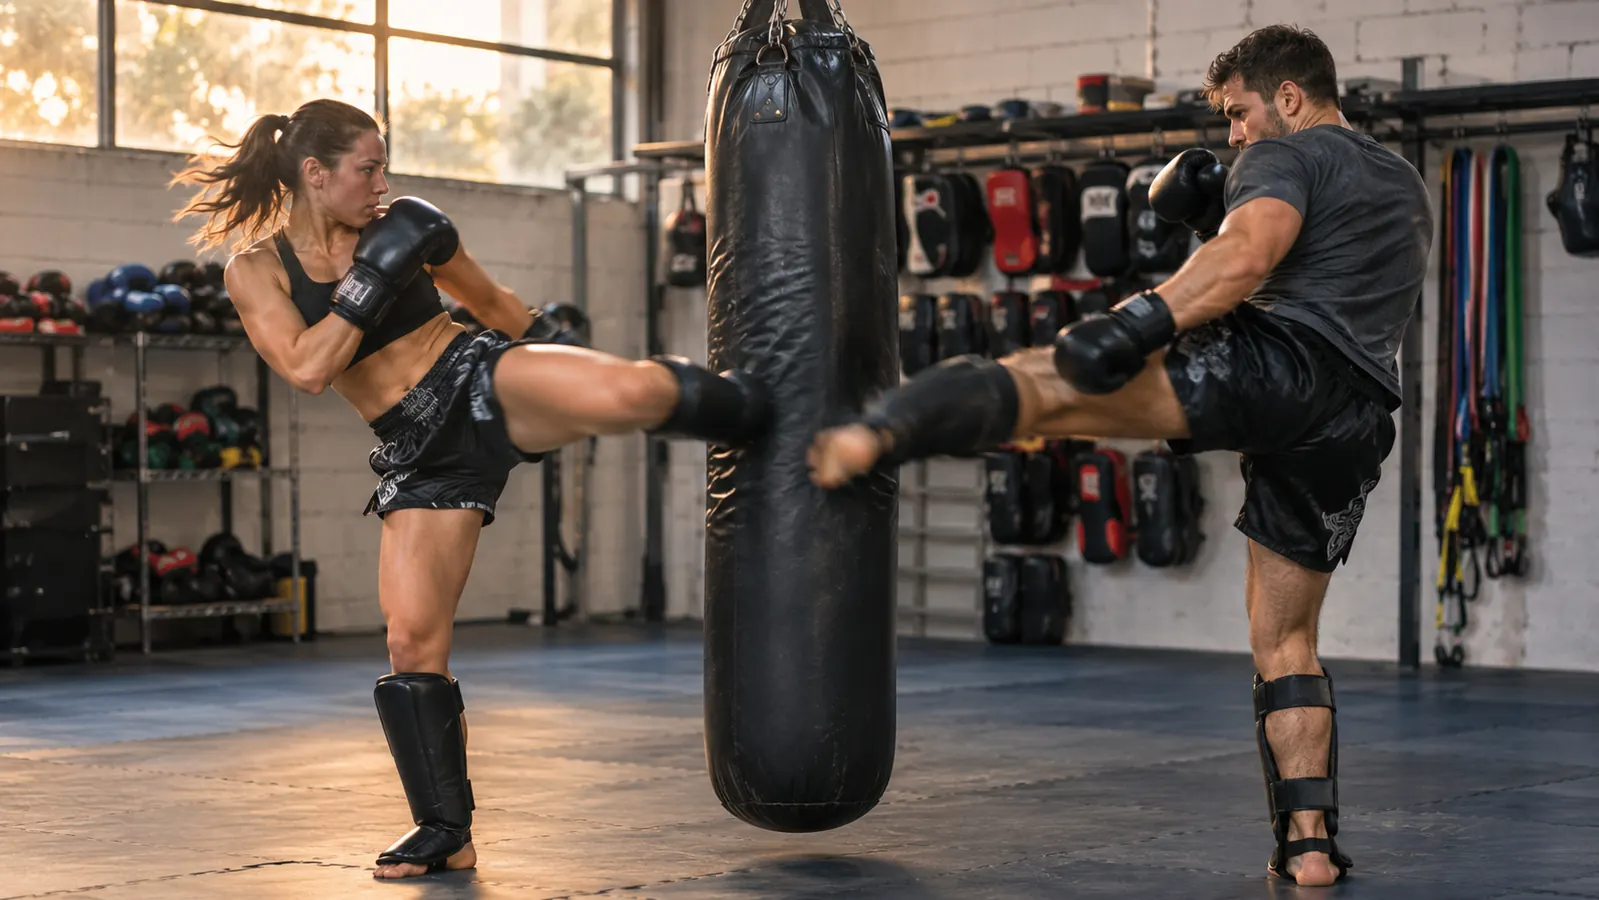
First, ten slow round kicks on the bag or in the air, thinking about the rotation of your hip rather than power. Second, a handful of step-in knees, which is where a loose top strap shows itself fastest. Third, ten checks on the heavy bag or with a partner at low power, because the impact of a check is what shoves a badly seated guard sideways.
Then look down and read the result. The strap should still be where you set it, the shin panel should still be centered over the bone, and the instep pad should still be over the top of the foot. If any of the three moved, fix it before the round starts, not during it. Between rounds, when everything is wet, take five seconds to press the strap back down. Hook-and-loop is made to be re-set, and re-setting it beats spending three minutes of a five minute round with the guard turned sideways.
What Else Helps
Fit is most of it. A few habits keep a pair working the way it did in the first month.
Wash them by hand in cool water and let them air dry, away from a heater or direct sun. A washing machine beats the foam flat and wears out the elastic long before the padding has actually gone, and heat will shrink the body until the guard no longer reaches the height you set. Mine get a hand wash every few sessions and hang on the rack in the garage overnight.
Watch the strap as the months add up. When the elastic starts to feel slack, or the strap needs noticeably more pull than it did three months ago to hold the same position, that pair is done as a training guard. Demote it to drills and start fresh.
And be honest about the job. A slip-on cloth guard is not a hard-shell guard and is not meant to be. The Meister pair is what I wear for technical sparring and kick drills, where I want coverage and freedom to move more than maximum impact absorption. For hard, heavy-contact rounds, a hard-shell guard over the top is the right call, and the two work fine together when the shell has room. The kids class here is nearly all technical work, so the slip-on style suits them, but I check the fit on those students every few weeks because they grow out of it without anything else changing.
One last thing, and this comes from fifteen years of handing gear to other people. When you lend a pair of guards to a student, take ten seconds to set the strap for them rather than handing it over and wishing them luck. Half the fit complaints I hear in a season come from a guard that was set for somebody else's calf.
A strap set down on the shin bone will slide down the calf no matter how hard you pull it. Put it on the meat of the calf and the guard stays where you left it.
Fit it once in the changing room, not three times in the middle of a round.
Slip-on elastic body, hook-and-loop strap at the top of each guard, foam padding through the shin and the instep. Set the strap on the calf and get on with your training.
Amazon Check Today's Price on Amazon →