
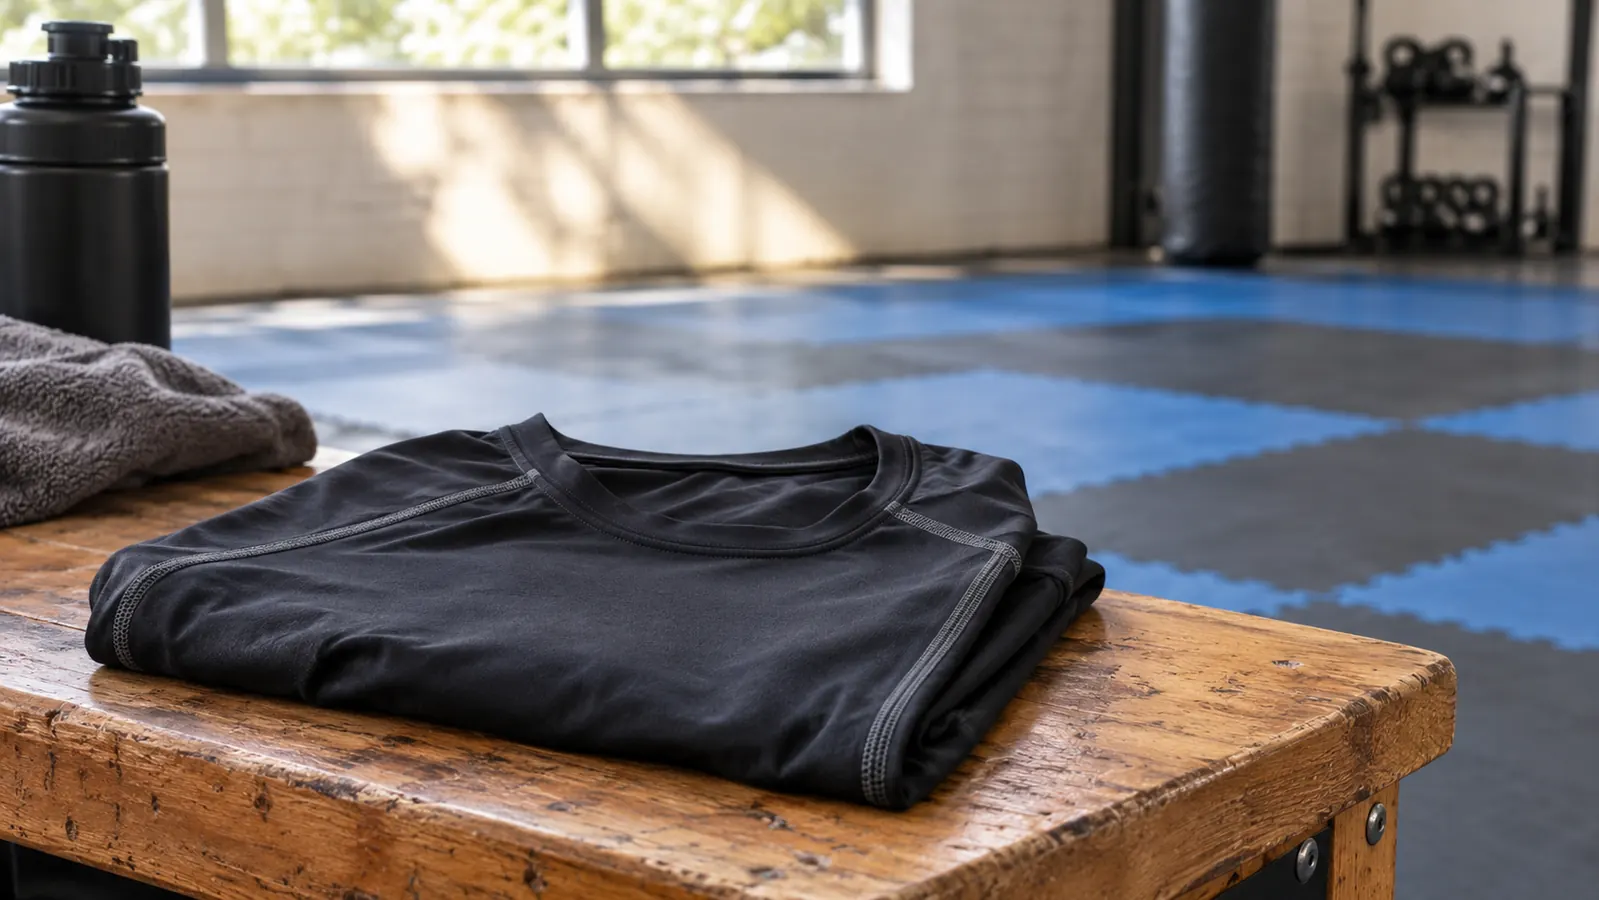
Monday night no-gi ends at 8:40. By 8:55 the shirt is balled up in a gear bag that already smells faintly like the inside of a boxing glove, and by Tuesday morning it has spent ten hours in a warm car. That gap, not the mat, is where most compression shirts actually wear out. I have pulled more forgotten ones out of the lost and found on a Saturday morning than I can count, and the ones that come back stiff, stretched at the cuff and smelling like a locker room all died the same way.
I coach kickboxing and Brazilian jiu-jitsu at a small club in Columbus, Ohio, about 40 adults and 20 kids, so I see a lot of training laundry. I wear a LAFROI long sleeve compression rash guard for no-gi on Monday and Wednesday nights and I have owned two of them for roughly eight months. It is a general UPF 50+ baselayer sold for multi-sport use, not a purpose-built jiu-jitsu shirt, so the care matters a little more, not less. What follows is the routine I actually run, including the parts I got wrong for the first few weeks.
Two Shirts, Eight Months of No-Gi, Still Fitting Like a Baselayer
I rotate two LAFROI long sleeve rash guards through Monday and Wednesday nights. Cold wash, hang dry, no dryer, and they still sit tight the way a compression top is supposed to. If you are starting from one shirt, start here.
Amazon Check Today's Price on Amazon →Step 1: Rinse It Before It Goes in the Bag
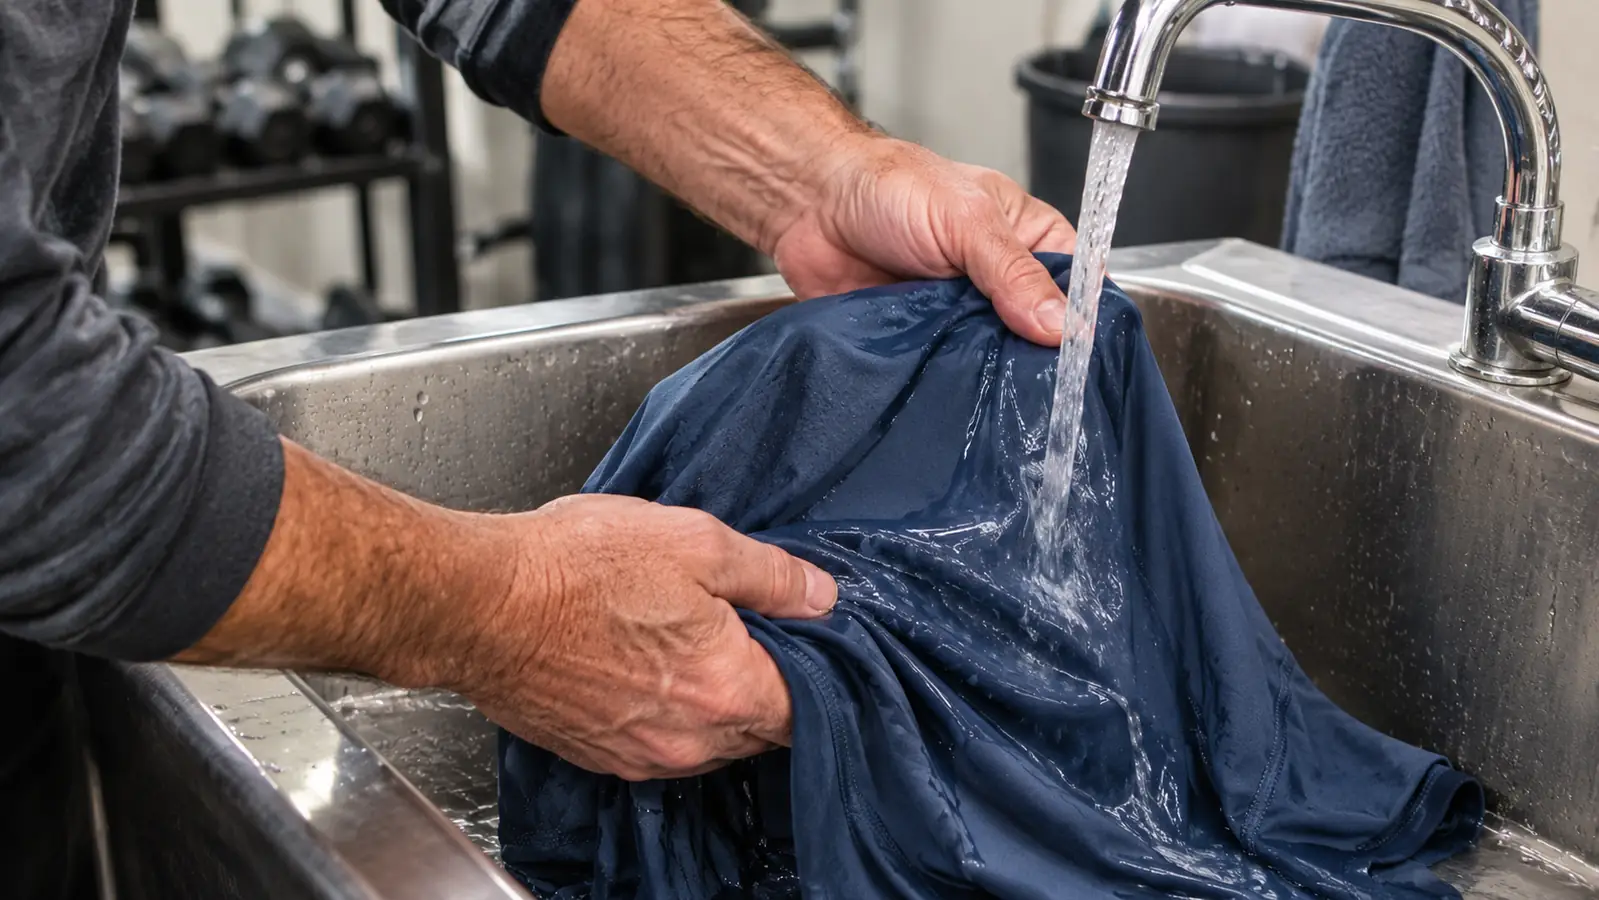
The biggest favor you can do for a compression shirt costs about ninety seconds. Rinse it before it goes into the bag, not after. I rinse mine in the club sink with cold water only, working it until the water runs clear instead of cloudy. If the sink is busy I take it into the shower with me and rinse it there, which sounds strange until you have opened a bag that sat in a van overnight in July.
Turn it inside out first. The inside is the side that touched your skin for an hour, and that is where the sweat and the mat grit end up. This is a slim fit top, so it sits tight against you the whole session and there is nowhere for any of that to go except into the fabric. Rinsing inside out gets the water to the side that needs it. I learned this about six weeks into owning my first shirt. I was rinsing it right side out, hanging it, and wondering why the neckline still smelled faintly sour by Wednesday. The outside was clean. The inside, the side pressed against my chest for an hour of drilling, was not. The crew neck is where it shows first, because it is the part you breathe through and the part you drag over your head with damp hands at the end of class.
Then press the water out, do not wring it like a towel. Twisting hard while it is wet and heavy is how you stretch a cuff and pull a crew neck out of shape. My first attempt at this was a proper wring, both hands, twisting in opposite directions like I was squeezing out a towel. It felt efficient. What it actually did was stretch the plain hem at one wrist so it sat looser than the other, and that never came back. Now I fold mine, press it flat with the heel of my hand, and drop it in the bag damp but clean. A wet clean shirt is fine. A dry dirty one is what starts the smell that never comes out.
Step 2: Cold Water, Mild Detergent, Nothing With Hooks
Cold water, every time. Not warm, and definitely not a hot cycle run to kill the smell. Heat is the enemy of anything with stretch in it, and a compression top is nothing but stretch. Cold water plus a normal amount of mild detergent gets training sweat out of a synthetic knit perfectly well. The hot cycle is not doing you a favor, it is just shortening the life of the shirt. I run the cold cycle on our machine, normal setting rather than heavy. Heavy is for gi jackets and it is more agitation than a thin knit needs. Our tap water comes out cold enough in January that the shirt is genuinely uncomfortable to handle, which is the point.
What else is in the load matters as much as the temperature. Zippers, hook-and-loop straps and anything with a rough edge will catch a knit baselayer and pull a thread that turns into a run. I wash rash guards with other synthetics or on their own, never with a gi jacket and never with a bag of gloves and shin guards that are still fastened. I keep a mesh laundry bag hanging on the rack for exactly this. Straps and anything with a closure go in the bag, and the rash guards go in loose beside it. The one time I skipped it, a strap fastener caught the sleeve of a shirt in the drum and pulled a thread about two inches long. It did not hole the shirt, but that run is still there and I notice it every time I put the thing on.
Use a small amount of mild detergent and skip the fabric softener. Softener leaves a coating on the fibers, and on a shirt you sweat through that coating is doing the opposite of what you want. Skip bleach. If a shirt has gotten genuinely sour, half a cup of white vinegar in the rinse does more than a stronger detergent will. I run a second rinse on mine because our water is hard and detergent residue leaves the fabric feeling slick.
Step 3: Keep It Out of the Dryer
Nearly every rash guard I have seen go bad early went through a dryer. Heat is hard on any stretch knit, and the tumbling is not doing the seams any favors either. My two LAFROI shirts have not been in a dryer once in eight months. They still hold their shape at the sleeve and the neckline, and they still fit the way they did in the first month. I can point to the exact shirt that taught me this. A student left one in the club dryer on a low setting, twice, and by the third month the sleeves had gone soft and it fit like a loose t-shirt. Same shirt as mine, roughly the same wash routine, one difference: the dryer. That is the whole experiment. Eight months against three, and the only variable was heat.
If you are washing a whole load of training gear and the rest of it needs heat, pull the rash guard out before the machine goes on. It is one extra step and it is the difference between a baselayer you get a season out of and one that goes loose in the sleeves by spring. Air drying a single lightweight shirt overnight is not a hardship.
The one exception I make is a shirt that got forgotten in the bag for two days. That one gets washed twice, cold, and then hung outside on the porch rack in the shade for an afternoon. Moving air and sunlight do more for a sour shirt than any additive I have tried, and it costs nothing.
Step 4: Hang It So the Shoulders Do Not Take the Weight
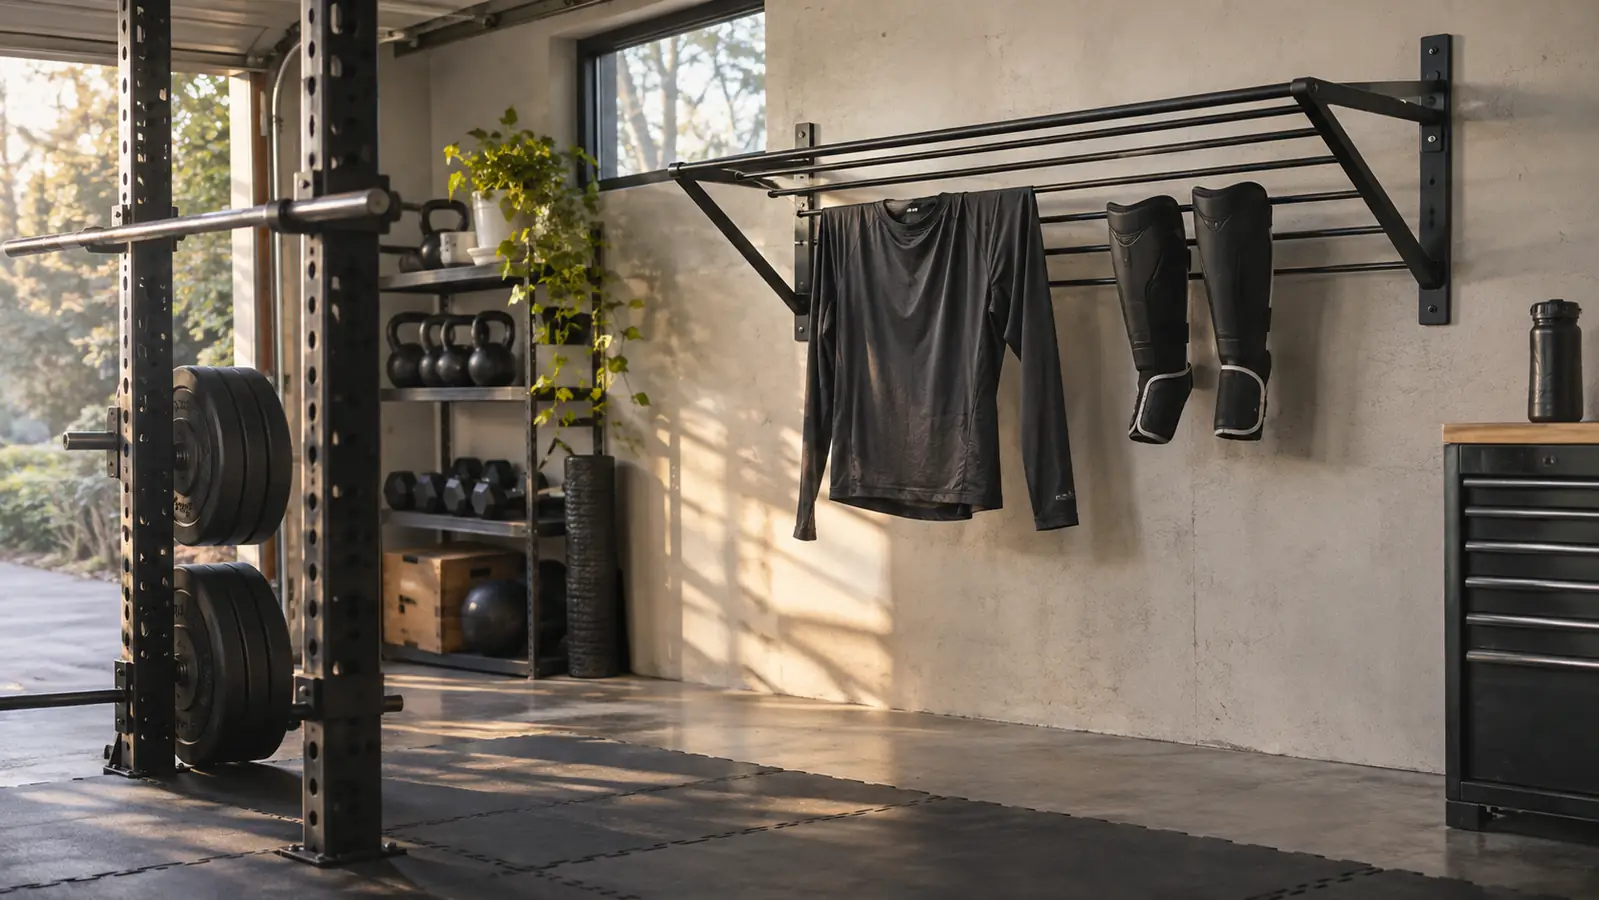
Do not hang a wet compression shirt on a thin wire hanger and walk away. The shirt weighs about 0.2 kg dry and considerably more when it is soaked, and all of that weight pulling down on two small points is exactly how you end up with shoulder bumps you cannot press out. Fold it over a wide plastic hanger, or better, drape it over a bar on a drying rack so the load is spread across the middle of the back.
Mine goes over the bar on the wall rack in the garage, not clipped, not stretched. In summer it is dry in a few hours. In winter it is dry overnight, and if the garage is cold and damp I point a box fan at the rack and cut that time in half. Do not drape it over the back of a chair where it sits in its own drips, and do not leave it bunched up in a bucket.
Take it off the rack once it is dry. A shirt left hanging in a garage for a week picks up dust, and in my garage it picks up the fine powder that works its way off the mats. Then it goes in the drawer, folded, ready for Monday.
The shirt did not fail on the mat. It failed in a plastic bag in the back of a minivan, overnight, in July.
Step 5: Rotate Two Shirts and Inspect Them Once a Month
Two shirts, not one. This is the advice I give new students before anything else, and it has nothing to do with how much gear you own. If you wear the same shirt Monday and Wednesday, it never fully dries between sessions, so you are putting on something damp that has been sitting in a bag, and you are washing it twice as often as the fabric wants. Two shirts cut the wear on each one roughly in half.
Once a month, sit down with the shirt in decent light and look at it. Check the cuffs and the plain hem, and check the neckline where you pull it over your head. Look at the seams under the arms, because that is where a stretch knit goes first. Run a thumb along the sleeve and see whether it still snaps back. If it has gone soft and stays stretched, the compression is gone. I did this in month seven on my first shirt and found what I was looking for. The hem at the left wrist had gone slightly slack and the seam under that arm was thinner than the other side. Not failed, but close. That shirt now stays home for bag work in the garage and the newer one goes to class, which is a simpler way to get more out of a pair than trying to make both last forever.
Retire it when it stops doing the job. A compression top that has gone loose in the sleeves is a t-shirt at that point, and there is nothing wrong with demoting it to yard work. But wearing it to no-gi and expecting it to sit tight is how people end up frustrated with a garment that gave them eight good months.
What Else Helps
Trim your nails and check them before class. I say this to every new white belt and I mean it: a ragged nail catches a knit top and pulls a thread, and that thread runs. The same goes for anyone wearing a watch or a ring on the mat. Wash the gear bag itself once a month, inside out, because a clean shirt going into a sour bag comes out sour. And empty the bag the same night. The whole routine falls apart if the shirt sits in there until Wednesday.
Get the kids into the same habit early. My son Mateo is 12 and takes the club's kids kickboxing class, and his routine is rinse, bag, wash, hang, same as mine. It took about three weeks of reminding before it stuck. If you have a young one in class, the rinse is the part worth drilling, because that is the one that saves the shirt when everything else gets skipped. None of this is complicated. It is ten minutes a week and a little discipline about the bag.
Replace the Shirt That Dies in the Bag, Not the One on the Mat
Ten minutes a week of rinsing and hanging is the whole routine. Start with two long sleeve LAFROI rash guards, treat them the way this guide says, and you will get far more than eight months out of the pair.
Amazon Check Today's Price on Amazon →