
Every few weeks a new student walks into the club with a mouth guard still in the package, or one they fitted in the car twenty minutes earlier. It always shows up the same way. First round of sparring, they throw a combination, the guard drops out of their mouth and bounces across the mat, and now they are holding a piece of plastic that has been sitting on the same floor everyone else has been sweating on. The guard was almost never the problem. The fitting was. I have been fitting these for students for fifteen years and for myself even longer, and the difference between a guard you forget about and a guard you fight with lives almost entirely in the ten minutes after it comes out of the box.
The guard I fit for myself, and the one I walk most adults at the club through, is the Shock Doctor Gel Max. It is a boil-and-bite guard with a Gel-Fit liner and integrated breathing channels, it comes in adult and youth sizing, and it is the one I have re-fitted every season for years. Nothing about fitting it is difficult. It is just a short list of things done in the right order, and most people skip two of them. Here is the order I use, and the reasons behind each step, because the reasons are what stop you from ruining a good guard halfway through.
The Guard I Re-Fit Every Season Starts Here
Shock Doctor Gel Max: Gel-Fit liner for a custom set, integrated breathing channels for hard rounds, adult and youth sizing, latex free, BPA free and phthalate free.
Amazon Check Today's Price on Amazon →Step 1: Match the Guard to the Mouth Before You Boil Anything
Sizing is the first thing people get wrong and the cheapest thing to get right. The Shock Doctor Gel Max comes in adult and youth sizing, and youth is not an afterthought for the small end of the class. My son Mateo is twelve and takes the kids kickboxing class at the club. An adult guard in his mouth sits far enough back that he gags on it before the round even starts. An adult with a narrow jaw has the opposite problem: the guard shifts on every hook because there is nothing holding it at the back. If you are between sizes, pick the one that covers the molars without crowding the back of your tongue, and remember that a guard sitting too far forward is easier to fix than one sitting too far back.
Open the package at the kitchen counter, not in the car. You want to look at the thing. Run a thumb along the Gel-Fit liner on the inside and check that it is seated evenly and has not folded over on itself in the box. A liner that goes into the hot water already creased will hold that crease, and you will feel it against your teeth every round for the next few months. Check the outer shell for anything sharp at the edges too. In fifteen years, most of the bad guards I have handled were bad because somebody fitted them without looking at them first.
About the strap. It is there for sports where you clip a guard to a face mask, and in hockey or football it earns its place. For kickboxing and jiu-jitsu I do not use it. I leave it attached and let it hang, or I take it off entirely, and either way it has never been the thing that made a difference in a round. Do not let the strap decide whether you like the guard. The fit decides that, and the fit is the next four steps.
Step 2: Boil the Water, Then Take It Off the Heat
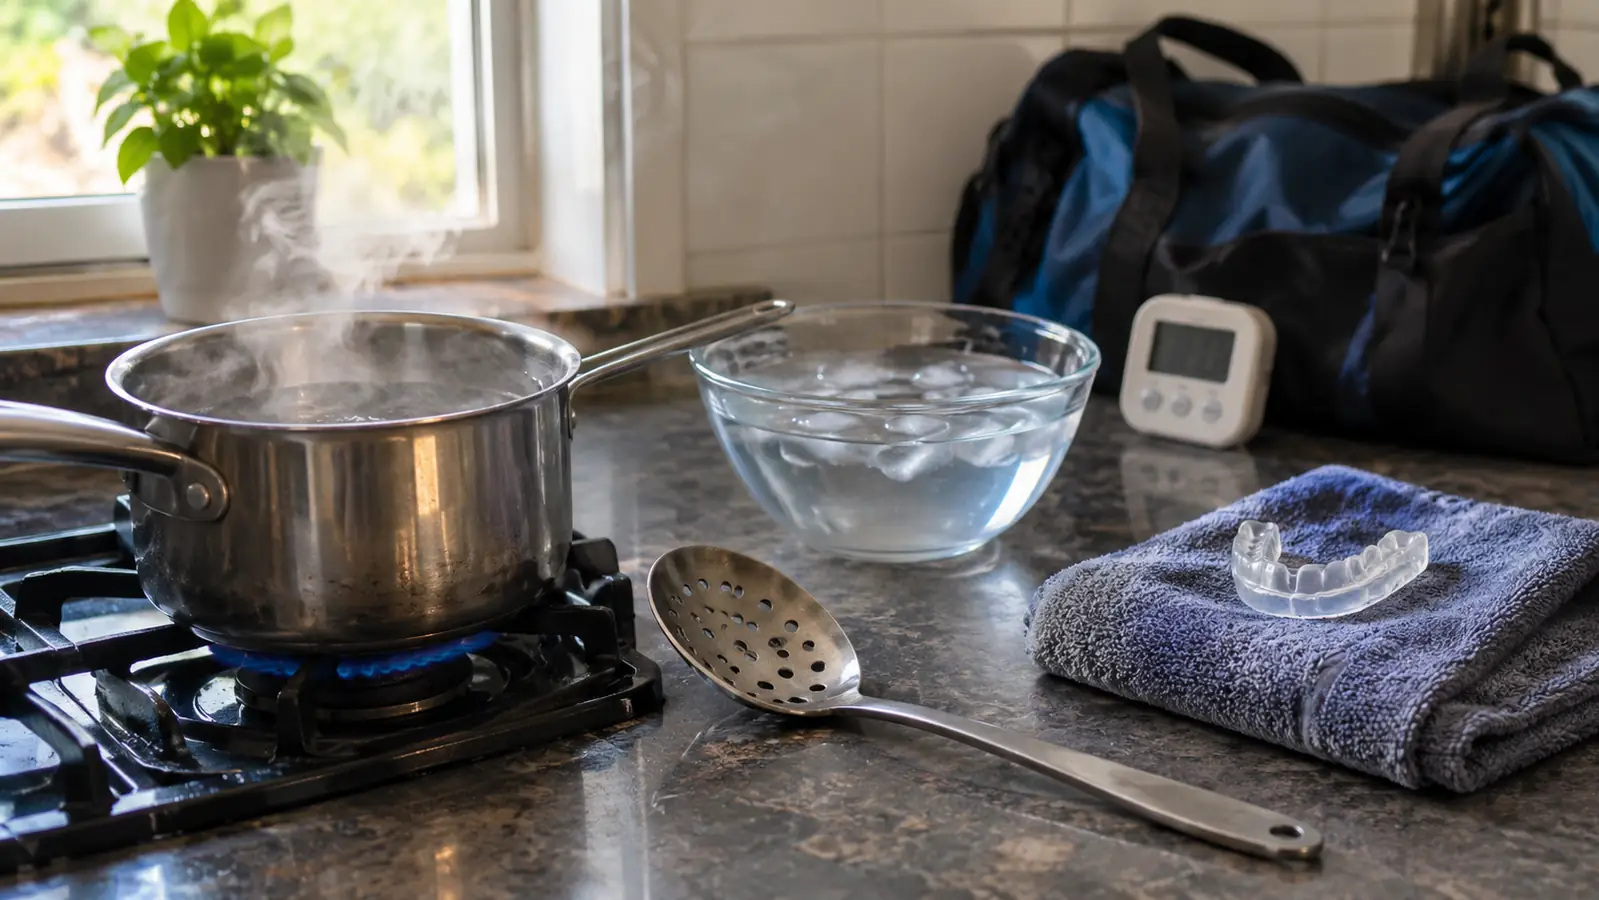
Bring a pot of water to a boil and then move it off the burner. This is where people wreck a perfectly good guard. Water still rolling at a hard boil is too hot and too rough on the material, and the guard goes limp in a way that does not come back. Let the pot sit on a cool burner for a few seconds and settle before anything goes in.
Follow the timing on the package. In my kitchen that works out to roughly half a minute fully submerged, and I use a slotted spoon so I can lift the guard out and look at it without fishing around with my fingers. What you are watching for is the material going soft and slightly see-through at the edges, flexible enough to press but not so soft that it flops under its own weight. If the liner starts to pull away from the shell, or the whole thing droops like a wet leaf, it stayed in too long. Let the water cool for a minute and start over with a fresh guard if you have a spare. This is exactly the situation where the spare in your bag pays for itself.
Lift it out with the spoon and shake it once. Do not run it under cold water yet. A little heat left in the material is what lets the liner take the shape of your teeth. Cold water at this point sets the guard in the shape of the spoon, which is not a shape that fits anybody.
Step 3: Seat It On Your Own Teeth, Not the Mirror's
Stand in front of a mirror and then mostly ignore it. The mirror is useful for the first second, to get the guard centered in your mouth. After that the fit is by feel, not by sight. Slide it in and check with your tongue that it is even on both sides, resting against the back of your teeth and not jammed up into the roof of your mouth.
Press the Gel-Fit liner up around the outside of your teeth with both thumbs, working from the front toward the back on each side. Then close your lips around the guard and bite down evenly. Evenly is the whole point. If you favor one side, the guard sets lopsided and you will feel that lopsided set on every hard round until you re-fit it. Keep your tongue flat and forward, out of the way of the liner, and breathe through your nose while you hold. A guard that is still hot will move under your tongue if you let it.
Hold the bite for a slow count of sixty. It feels long, especially the first time, and it is the difference between a guard that stays put and one that drops out. If your jaw is tired at the end of the minute, you were biting too hard. You want firm, even contact, not a clench. Some of the colorways come flavored, which kids tend to enjoy and most adults find strange for the first minute. That fades. The fit underneath it does not.
In fifteen years of holding pads, I have never seen a guard fall out because it was cheap. I have seen dozens fall out because it was fitted in a hurry.
Step 4: Chill It, Then Test It the Way You Will Use It
Have a bowl of cold water ready before you start, and drop the guard straight into it when your sixty seconds are up. The cold sets the shape you just made. Leave it in there for a couple of minutes, take it out, shake it off and give it a wipe.
Now test it the way you will actually use it, not the way you test it standing in a bathroom. Open your mouth as wide as you can. Talk in a normal voice. Turn your head left and right. Then do a slow round of shadowboxing, twenty or thirty punches, and watch whether the guard stays where you put it. Then breathe hard through it for ten seconds. The integrated breathing channels in the Shock Doctor guard are what make that last test possible in the first place, and it matters more than people expect. A guard you cannot breathe through will be out of your mouth before the first round is finished, no matter how well it fits.
If it gags you, it is sitting too far back or the liner is too thick at the rear edge. Pull it out and re-fit rather than cutting anything off. If it drops away when you open wide, the bite was not deep enough and it needs another run in the hot water. If you feel pressure on one tooth and nothing on the others, that is a lopsided set and it will not correct itself with wear. All three of those are fixable in the same ten minutes. None of them are fixable during a round.
Step 5: Re-Fit When It Drifts, Replace It Every Season
A fitted guard is not permanent. Mine drifts after a few months of hot water rinses and being crammed into a gear bag, and when it does I re-boil it and repeat the same process. It comes back. I fit a new Shock Doctor Gel Max about every season. Nobody handed me that schedule, my own guard told me: when it starts shifting during hard rounds and a re-fit will not hold, the material has done what it can do and a new one is the honest answer.
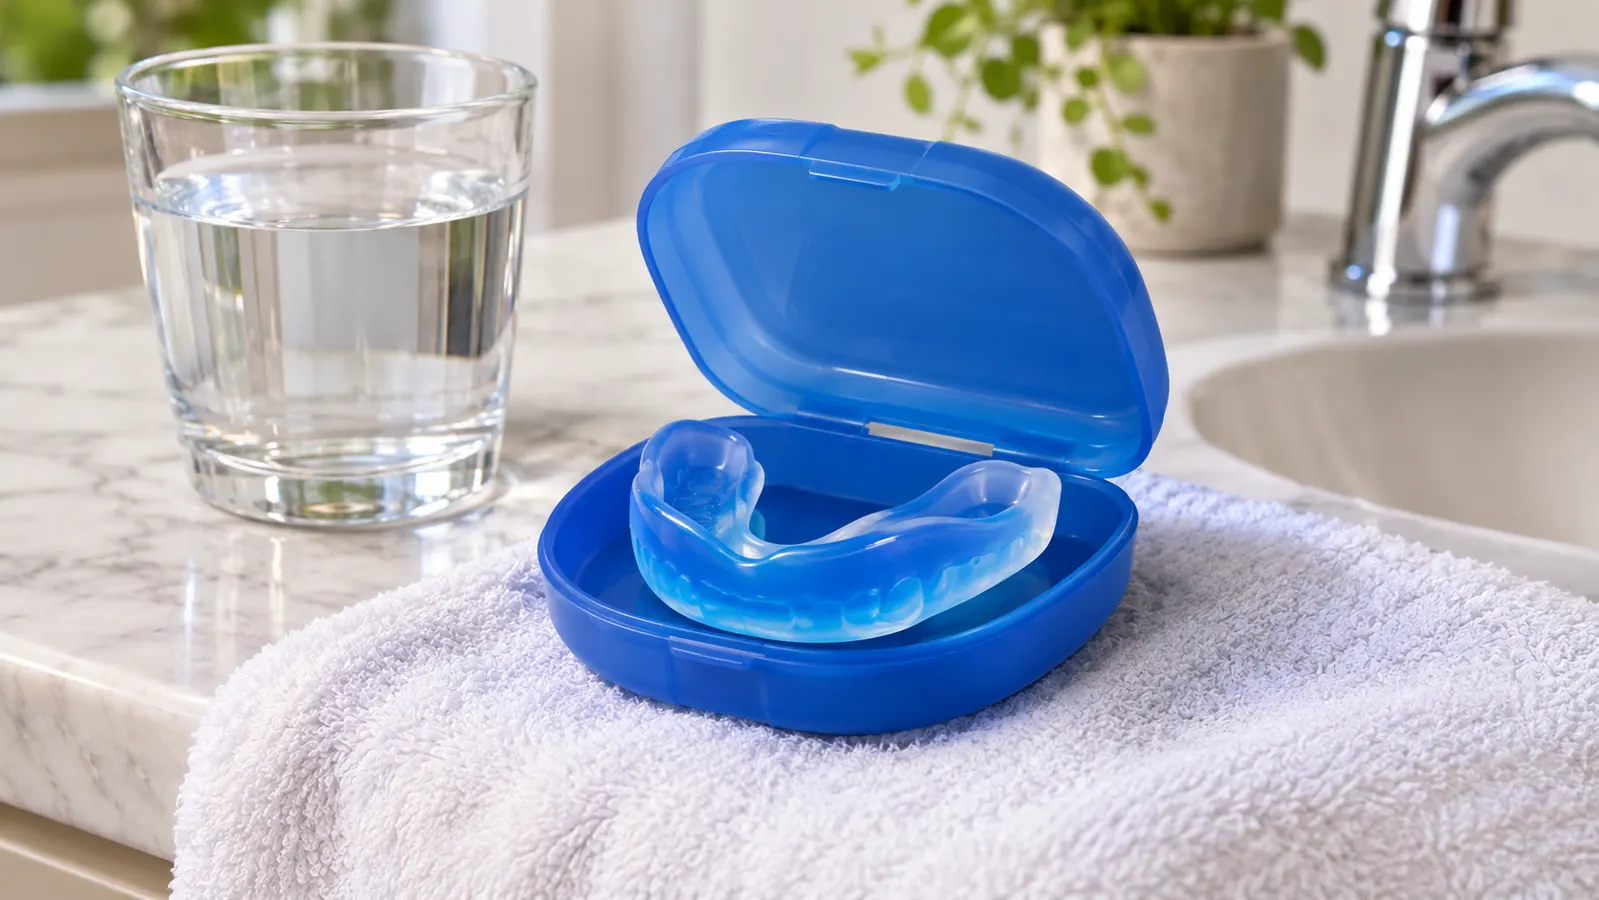
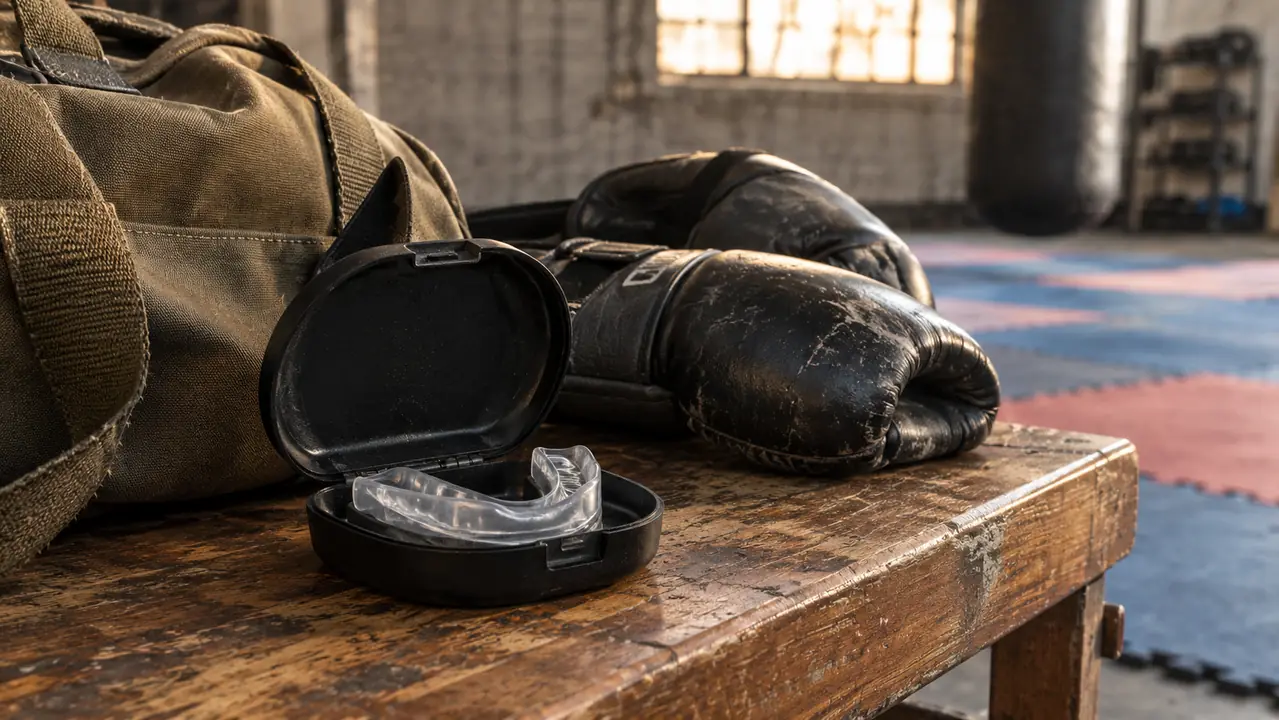
Store it in a case, not loose at the bottom of the bag. My gear bag lives in the back of the Odyssey, and an Ohio summer turns that van into an oven by ten in the morning. Heat is what shapes a guard, which means heat is also what warps one. The case keeps it away from the gloves and the shin guards pressing down on it, and it keeps it out of direct sun.
Rinse it after every session with cold water, let it air dry in the open case rather than sealed up wet, and check it before you pack for class. Kids need this more often than adults because they are still growing and their mouths change. Mateo's guard gets checked at the start of every class block, and if it starts moving on him we re-fit it that week rather than waiting. A guard that fit in September is not guaranteed to fit in March.
What Else Helps
Two things I would add to the ten minutes. First, a spare. A second guard fitted and kept in the bag is cheap insurance and saves you from drilling without one on the week your main guard goes missing or comes out of the case wrong. Second, a little honesty about what this piece of equipment is. A mouth guard is gear, not a guarantee. Nothing in your bag is a guarantee. What a properly fitted guard does is take one item off the list of things you are thinking about while somebody is trying to hit you, and that alone is worth the effort at the kitchen counter.
And two cautions. If you have braces, a bridge, a crown or a retainer, or if you have had work done on your jaw, talk to your dentist before you boil anything. That is not a step I can walk you through from a gym office. Same for a kid whose mouth is changing quickly. Do the fitting on a day you are not rushing out the door to class, because a guard fitted in a hurry is the same guard that ends up on the mat, and the ten minutes you saved is the round you lose.
Ten Minutes at the Counter Beats Thirty Seconds of Fishing It Off the Mat
Shock Doctor Gel Max: Gel-Fit liner, integrated breathing channels, adult and youth sizing, latex free, BPA free and phthalate free. The guard I fit for every sparring round and every roll with strikes.
Amazon Check Today's Price on Amazon →